

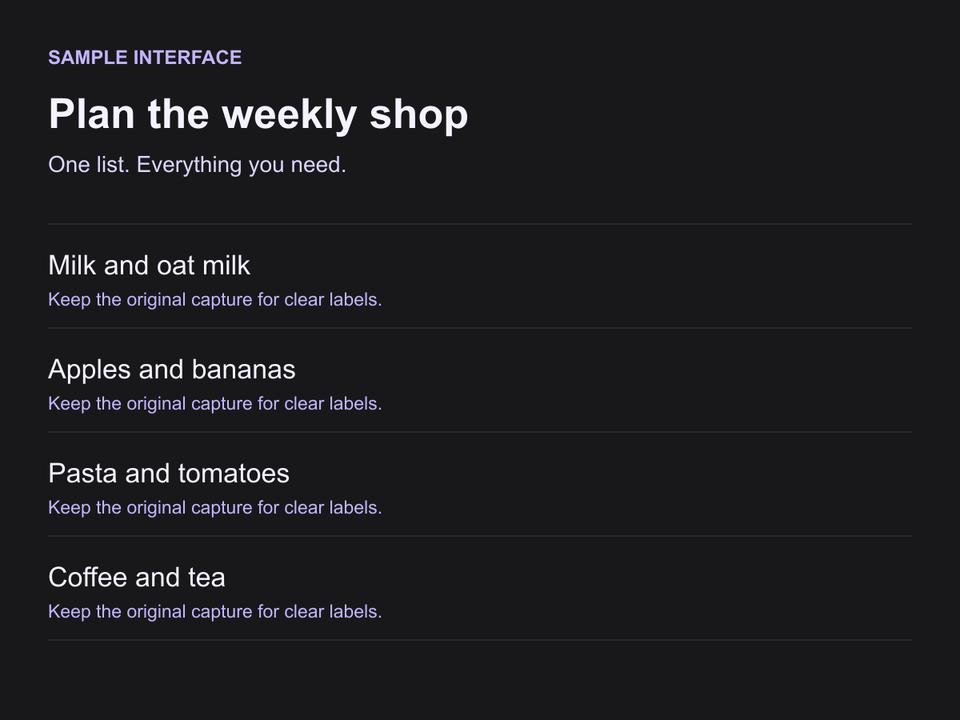
Screenshots lose clarity when the capture is too small, the image is enlarged beyond its useful resolution, or compression damages text edges. Start with a native-resolution capture, keep the original, and check the image at the size it will appear in your article, help center, presentation or store listing.
Find where the detail was lost
- The original is soft: capture again at full resolution. A screenshot of a scaled preview starts with less detail.
- The original is sharp, but the published image is soft: check the image file your website serves. It may be using a smaller thumbnail or a heavily compressed version.
- Letters have halos or blocky edges: compare with a PNG export from the original. Repeated lossy saves compound the damage.
- The image is sharp, but the words are tiny: crop to the relevant area or simplify the layout. More pixels will not make the words larger at the same display size.
1. Keep a full-resolution source
Use the device or application's screenshot command. For iOS, follow our Simulator and device capture instructions. Save that file before adding annotations, resizing or uploading it to a publishing tool. Work from the original whenever you need another size.


One sample layout rendered at two resolutions, shown at the same width. Open the files to compare the small labels.
2. Match image pixels to display size
A 600-pixel-wide space on a web page does not always use 600 physical screen pixels. At a device pixel ratio of 2, it uses 1200. A sharp 1200-pixel source supplies that detail; enlarging a 400-pixel file to 1200 does not.
Image width in pixels = displayed width in CSS pixels × target device pixel ratio.
For a 600 CSS-pixel display width at 2×, start with at least 1200 image pixels across. Keep the aspect ratio unchanged, and check that your site's image settings actually serve the larger file. Changing only a file's DPI metadata adds no image detail. This calculation is for web display; store uploads still need their required pixel dimensions.
3. Protect the text when exporting
PNG is a useful starting point for interface screenshots because its compression preserves the pixels. JPEG uses lossy compression and can leave artifacts around letters and fine lines. If your publishing tool converts images automatically, inspect the version it serves as well as your export.

Compare at full size before choosing the smaller file. Keep the original PNG for later edits. If an upload rejects a PNG that looks opaque, check our alpha-channel example.
4. Check the published image at its final size
Open the page or presentation where people will see the screenshot. Read the smallest text that matters without zooming. If a whole screen is too small, show a focused crop and keep a link to the full image. For marketing graphics, shorten the caption and give it more room. Our 160-pixel preview example shows why this is a layout decision as well as an export decision.
Creating store screenshots? AppScreens keeps captions and layouts editable across device sizes and languages. Start with your clean capture, then use a screenshot template to build the finished set.
Example files and sources
The comparisons use one sample SVG layout rasterized at 1200 × 900 and 400 × 300. The JPEG uses quality 35 with 4:2:0 chroma subsampling. These are controlled illustrations. The downloads preserve the original PNG and JPEG encodings.